Table of Contents
Selecting Products

Selecting products means the same as it does when you are merchandising as a retailer: you want to carry them in your shop (in this case, it means your online shop).
We make the process of syncing them into your platform easy as it only takes a few minutes from product selection to going live with new products
Searching for products
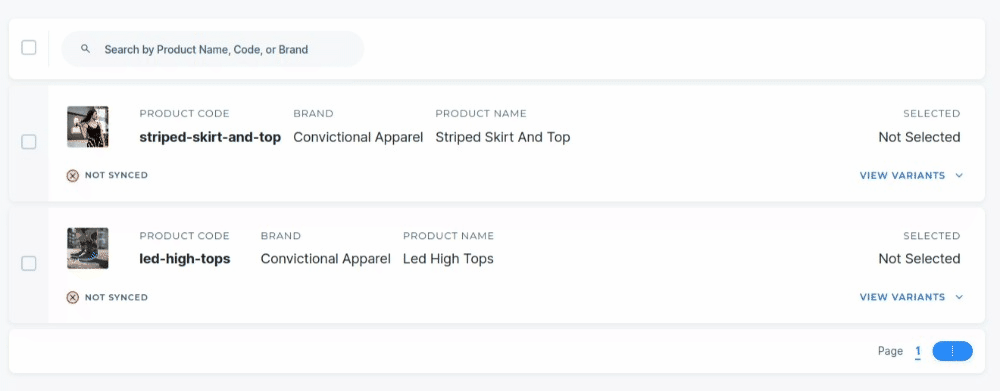
To see which products are available for selection, go to the Products tab. Products can be searched for by Product Name, Code or Brand. To search, enter your search term into either search bar. Any product that contains the term you entered will display as a search result:

Bulk Selecting or Deselecting Products
You can select or deselect products straight from your search results by using the check boxes next to a search result row. Once a row has been checked, an "Actions" menu will appear, allowing you to perform this action in bulk:
Selecting An Individual Product
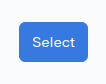
To select a product, click the product row displayed in the search results to view the products page, then click the blue 'Select' button in the top right hand corner:
Once the product has been synced, we will confirm success on the same button:
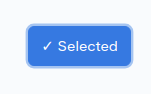
If you refresh the page, you'll notice that the product has a checkmark next to the title. That means the product has successfully synced through into your platform:

Congratulations, you just selected a product and synced it into your platform!
Errors when selecting a product
In order to be selected a product must meet both of the following criteria:
- The product is marked as Active in the sellers Convictional dashboard
- The SKUs for the product are included in the price list assigned to your partnership.
If the product doesn't meet both of those requirements we will surface an error while selecting the product:

If you receive an error when selecting products you can touch base with your partner directly to confirm that the products you are attempting to select meet the requirements listed above.
Deselecting a product
If you no longer want the product to show up to your customers or sync into your platform, you can manually deselect it. To deselect it, head back to the individual product page. In the top right, you'll notice where the 'Select' button used to be, there's a new 'Deselect' button:
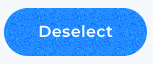
To deselect the product, click on the deselect button. When the product is successfully deselected (we leave a record in your platform, but unpublish it from all your sales channels) we will display a 'Sync' button, showing that you can sync the product again.
Syncing the product will push any updated product details to your ecommerce platform and restore syncing for the price and inventory quantity.
Automated Delisting
If one of your sellers discontinues or delists a product on their end, Convictional will delist the product on your side as well. Sometimes sellers "zero" a product, meaning they remove all available inventory and set the inventory quantity = zero. In this event, we will sync the zero values through to you and that product will (in most cases) be hidden by default.
If you want to keep on top of which products have been automatically delisted, the best way to do that is to setup a view inside your system for product information. As an example, in Shopify, you can setup a view that shows all products tagged with the tag "delisted" to see them. By using the unpublished date as the way to sort the list, you can see everything recently delisted.
Automated Relisting
If one of your sellers relists a product (brings new stock in for an old delisted SKU), Convictional will automatically relist the product on your side as well. This includes publishing it as visible, in the event that the product was still published when delisted. To view products that have been relisted, setup a view in your product system (ie. Shopify) that looks for the "relisted" tag.