Connecting Magento 2 - Buyer
This guide is for Buyers connecting their Magento 2 store with Convictional. The Seller guide is here.
Convictional supports integrations with Magento version 2.4.4 and higher. Lower versions may not be able to integrate successfully.
Step One: Connect Platform
- Ensure that Magento2 was selected when your company was created. Check this by looking for "Connect your Magento 2 Store" in your Convictional account's Integration Settings.
- Provide the URL of your store during sign-up. The format is "https://subdomain.store.com".
- If you do not see this section, contact support.
Step Two: Store View
This step is optional. Feel free to skip this step if you use your "default" Magento2 store view.
Store views can be used to customize your Magento2 instance. Examples for using different store views:
- Different languages (English, French, Spanish)
- Different supply models (Dropship, Wholesale, Consignment)
- Different product collections (Standard, Exclusive)
If you want to create a unique store view to use with your Convictional account:
- Create a new store view.
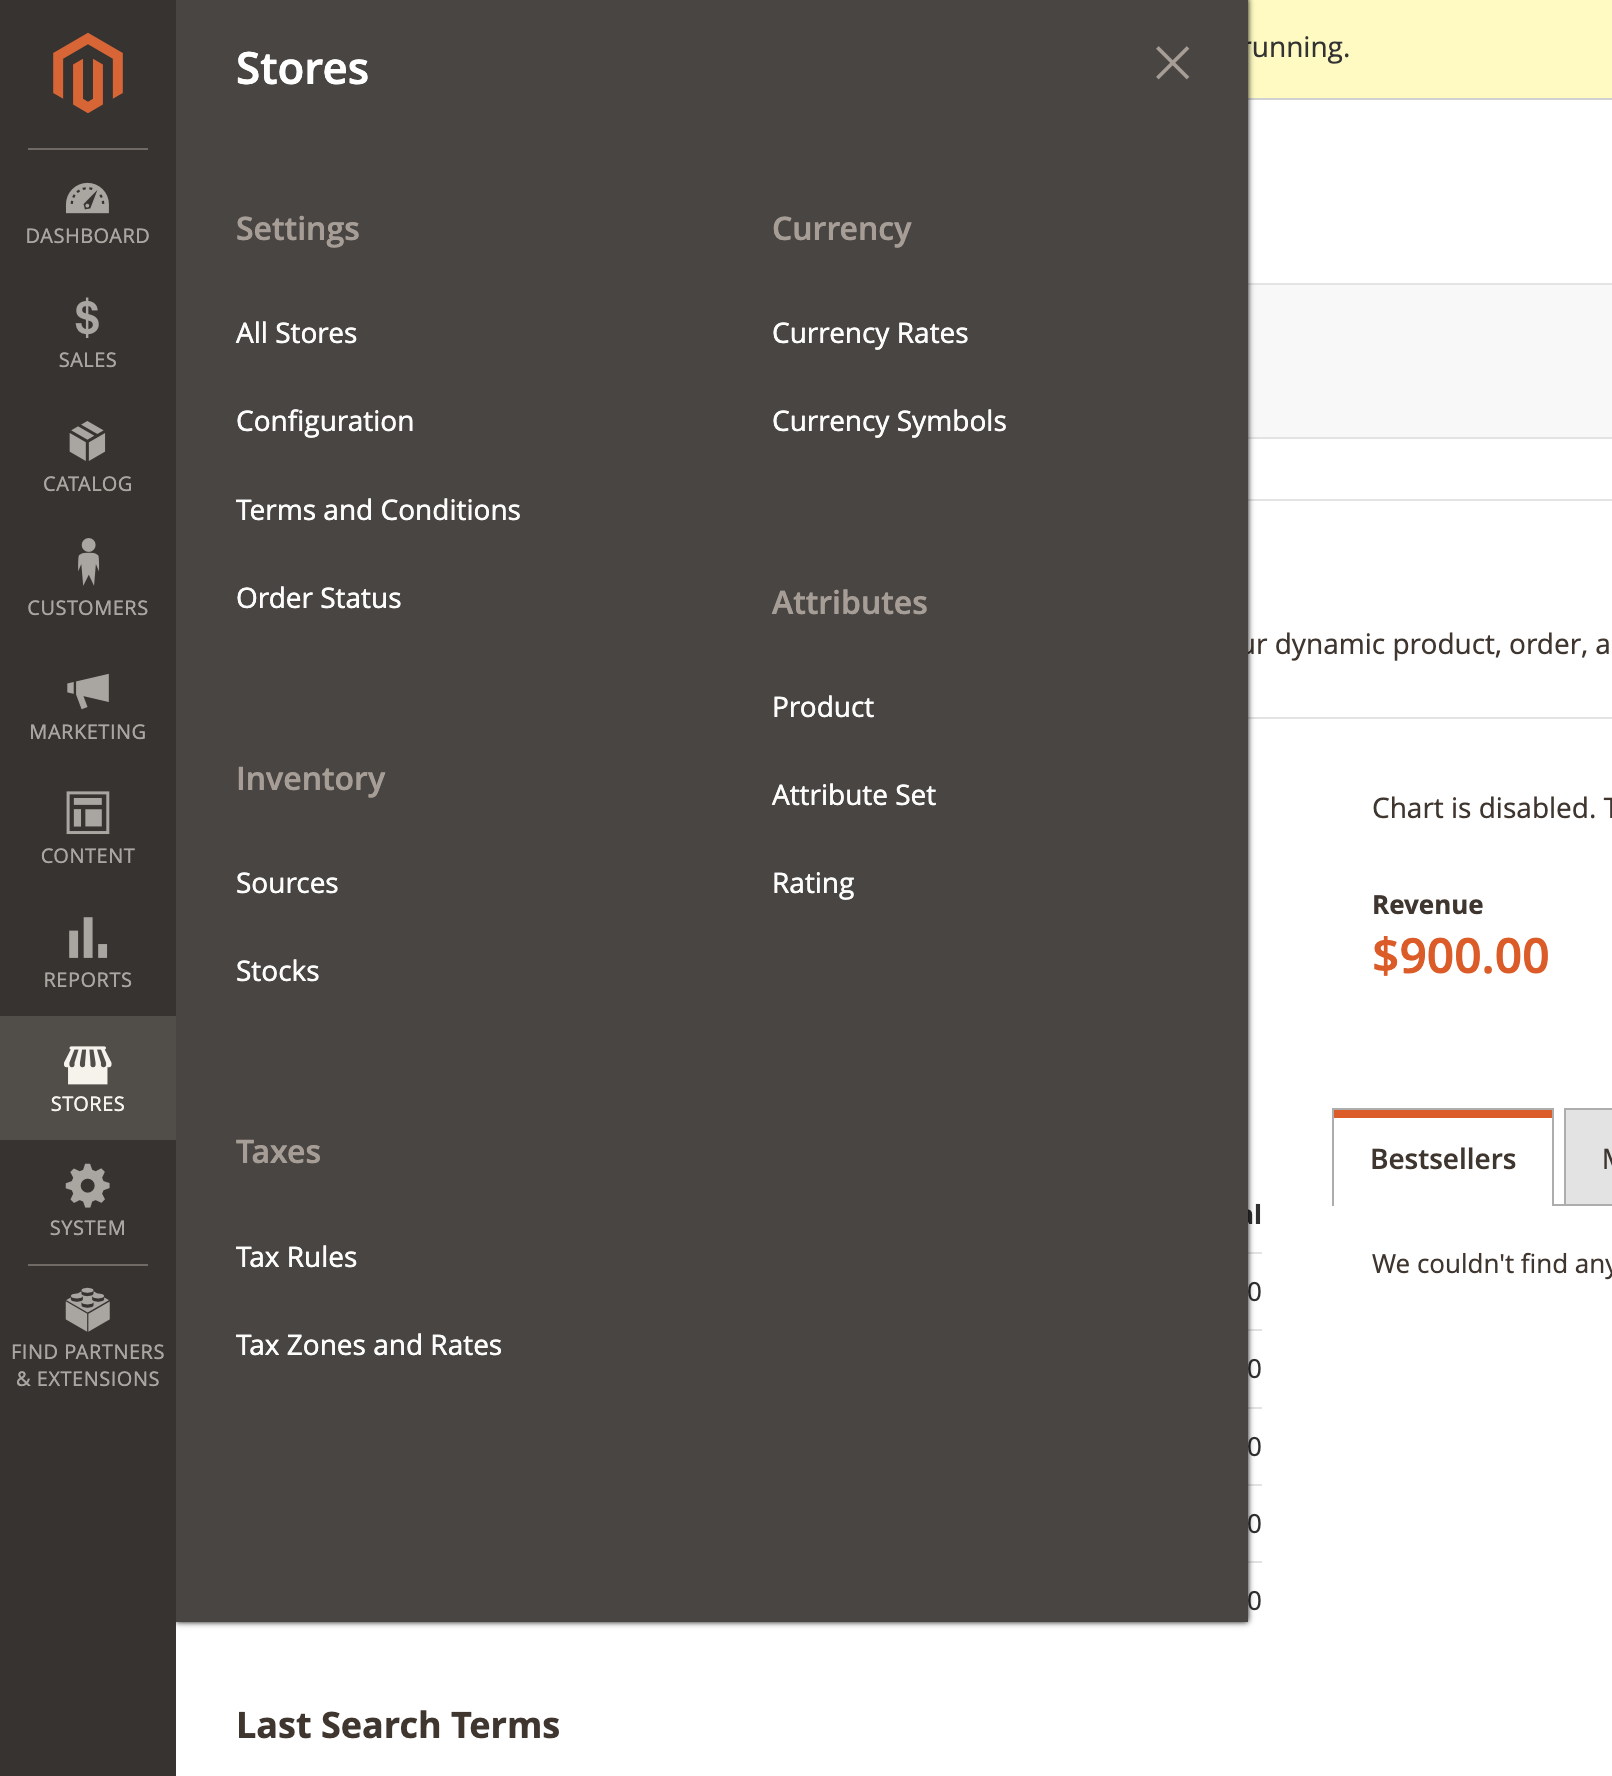
- Copy the "Code" of the store view. It is under Admin > Stores > All Stores > Settings > Store View:

Step Three: Grant Permissions
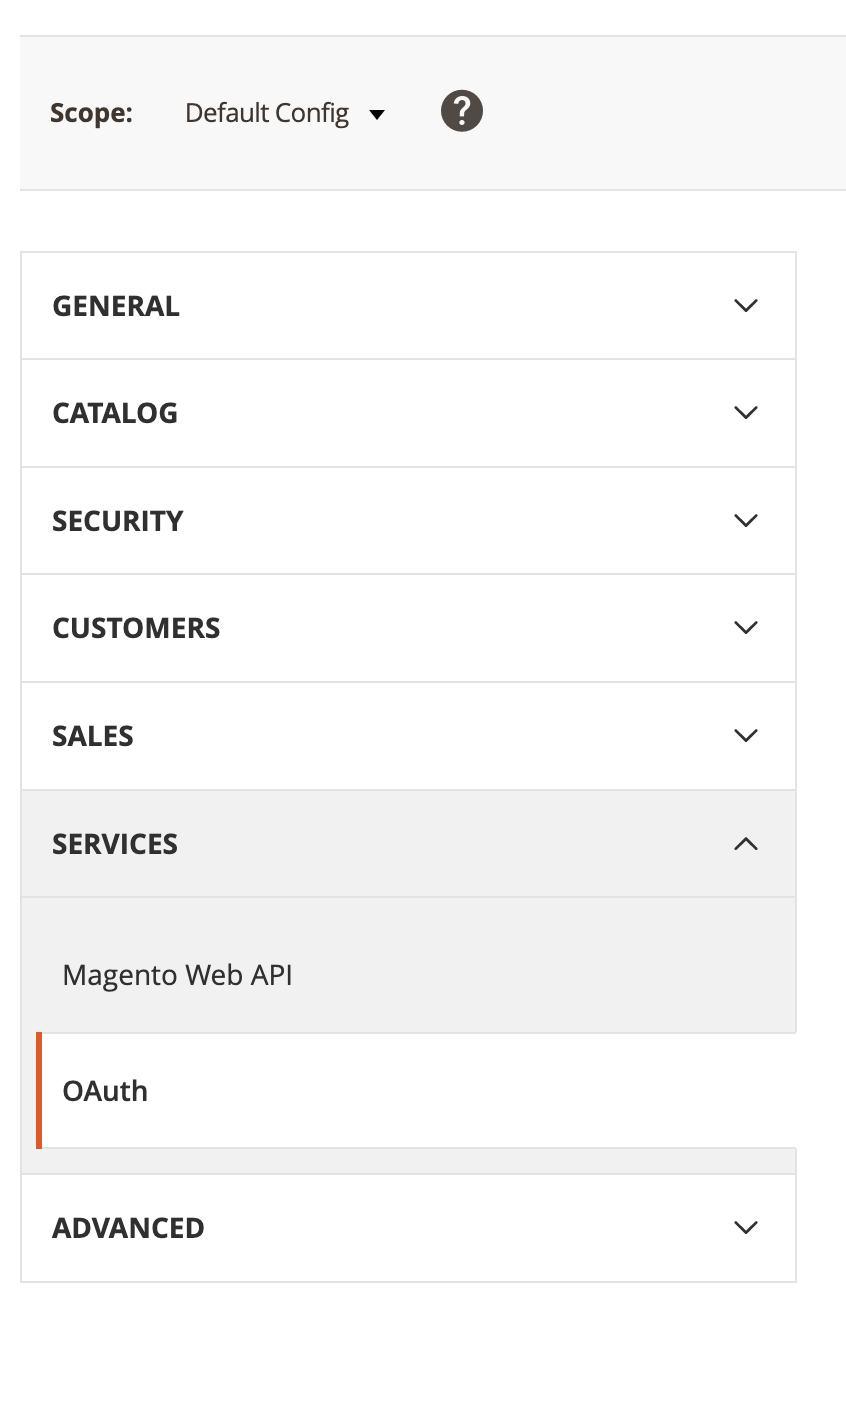
- Go to your Admin dashboard > Stores > Configuration > Settings.
- Next, navigate to Services > OAuth:
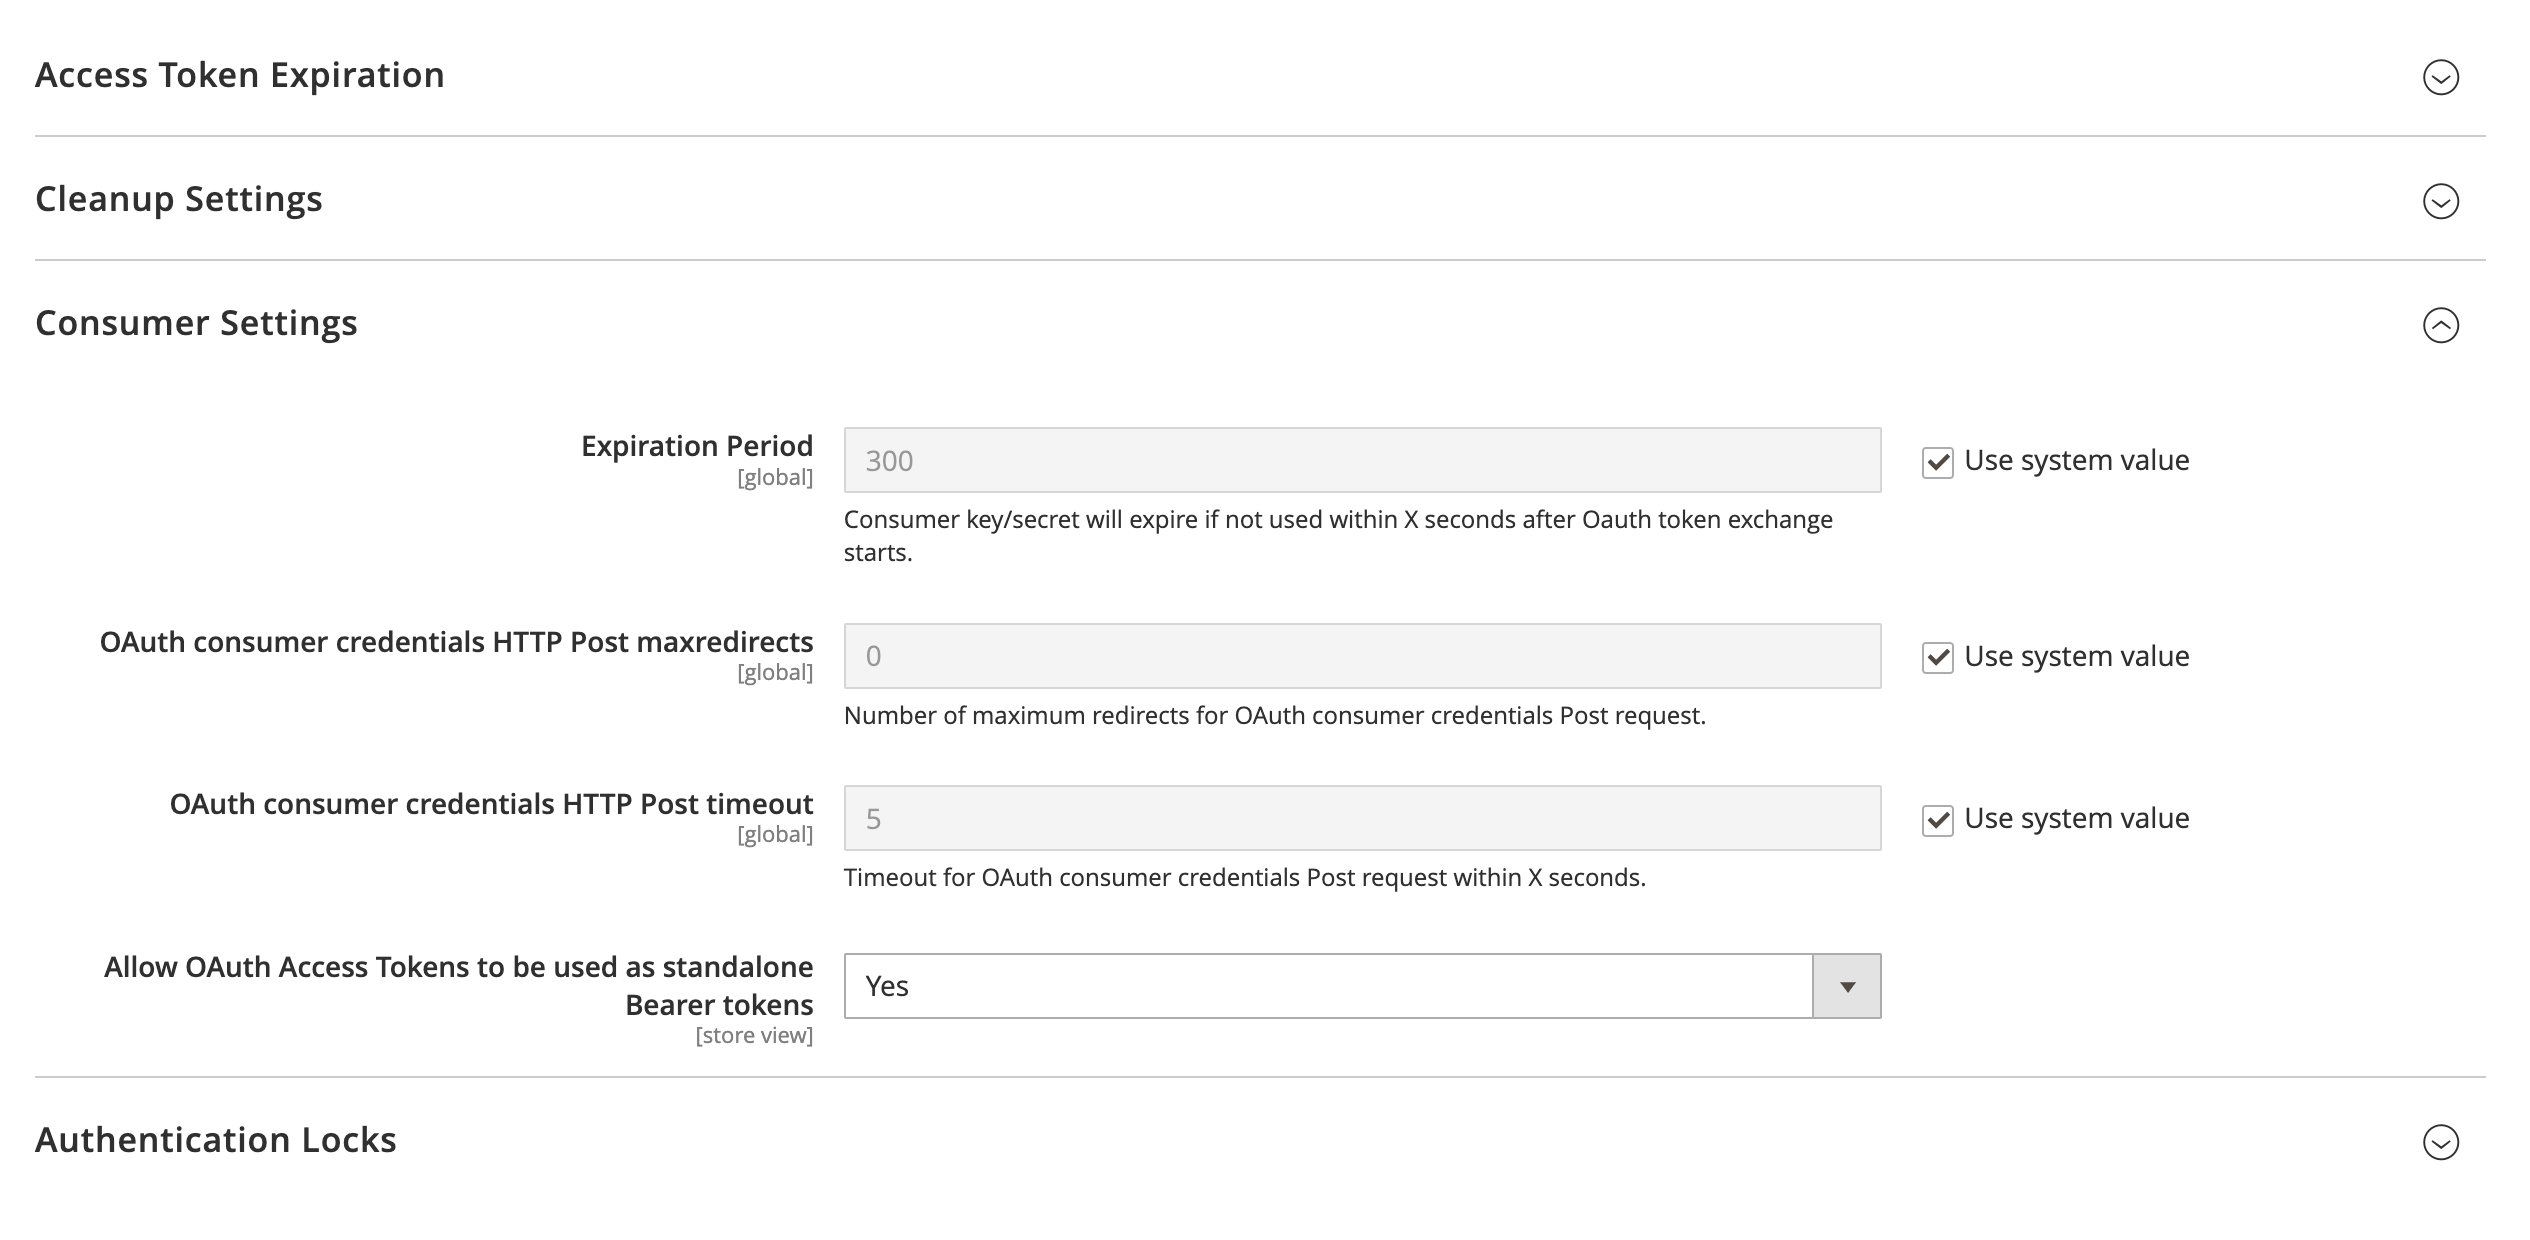
- Click the dropdown for "Allow OAuth Access Tokens to be used as standalone Bearer tokens" and select "Yes":
- Click "Save Config" at the top of the screen:

Step Four: Generate API Keys
- You will need to provide Convictional with Magento2 API keys in order to connect your store.
- Go to your Admin dashboard > System > Extension > Integrations.
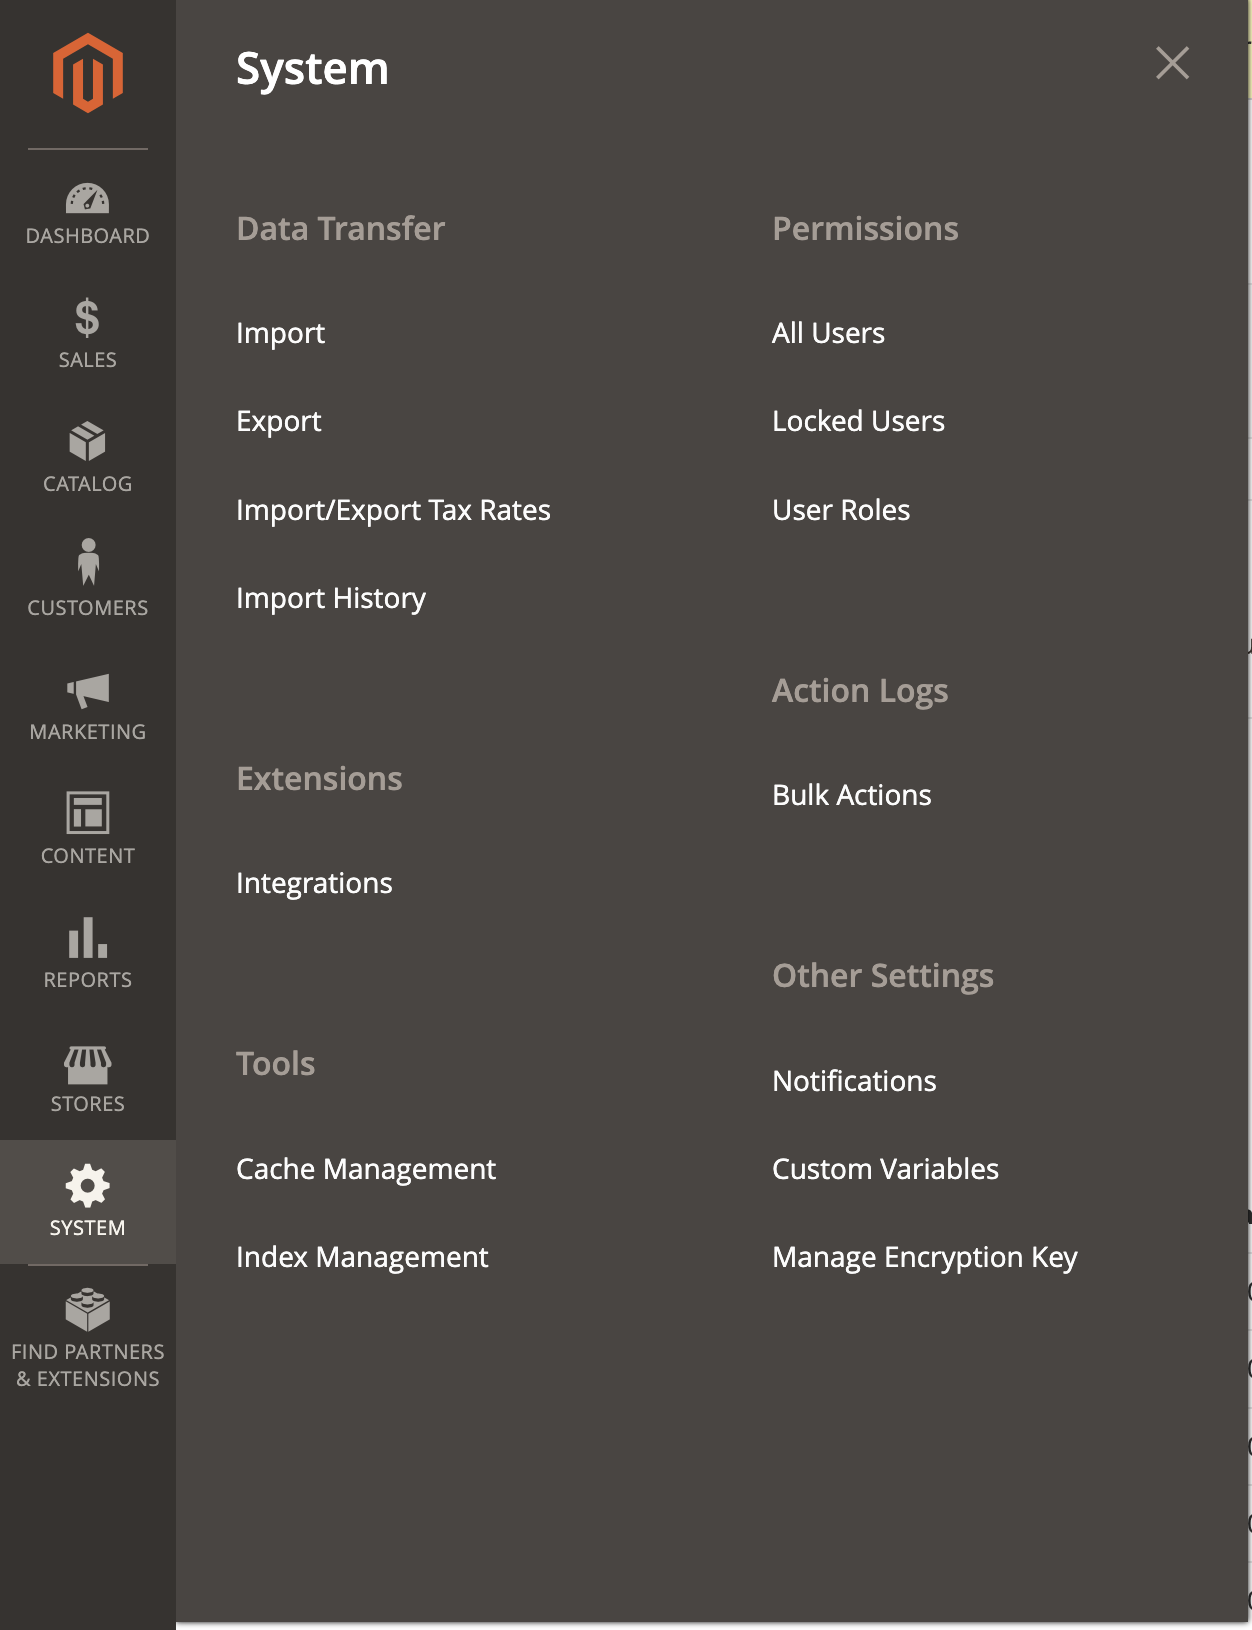
- Click "Add New Integration":

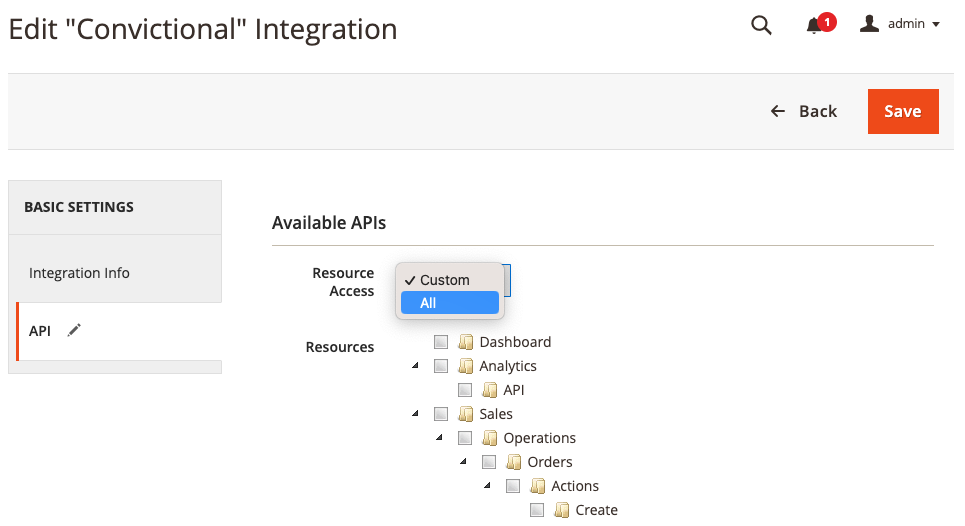
- Enter in "Convictional" for the "Name" field. Enter your admin password in the password field:

- Go to Basic Settings > API. Click the "Resource Access" dropdown under "Available APIs". Select "All":
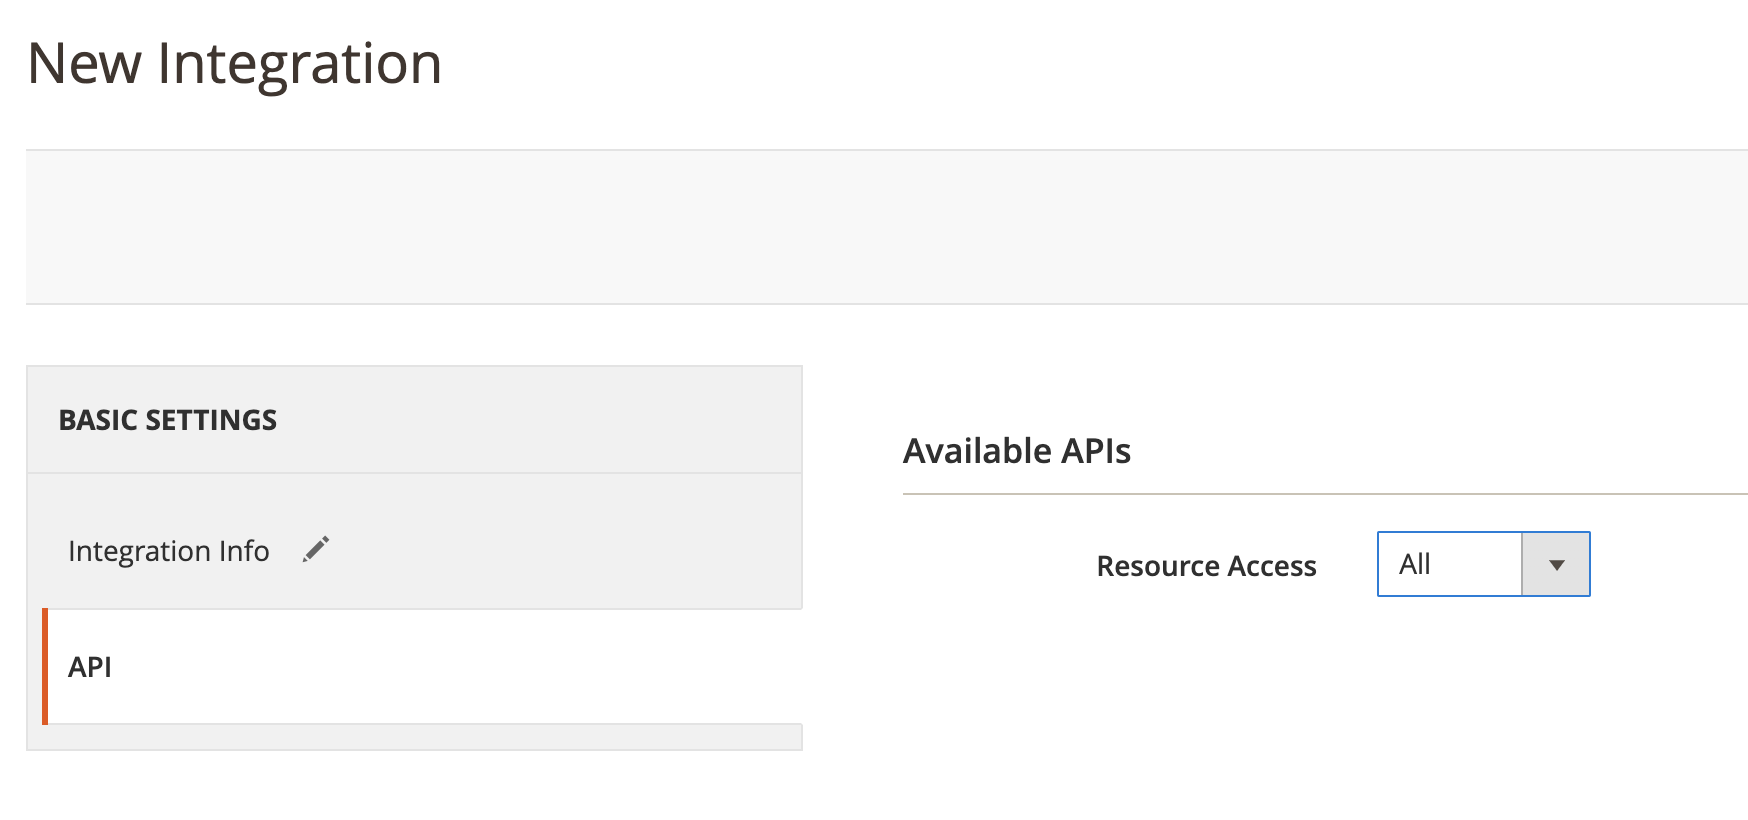
- Selecting "All" should check off the full list of resources that display:
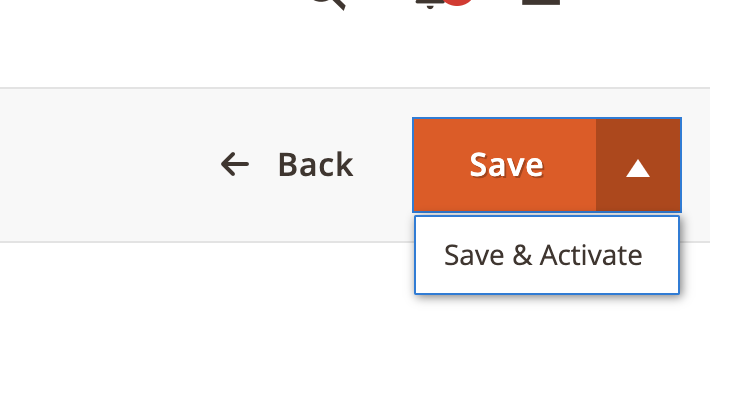
- Click on the arrow beside "Save" and click "Save and Activate":
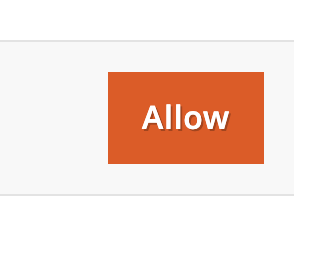
- Click "Allow":
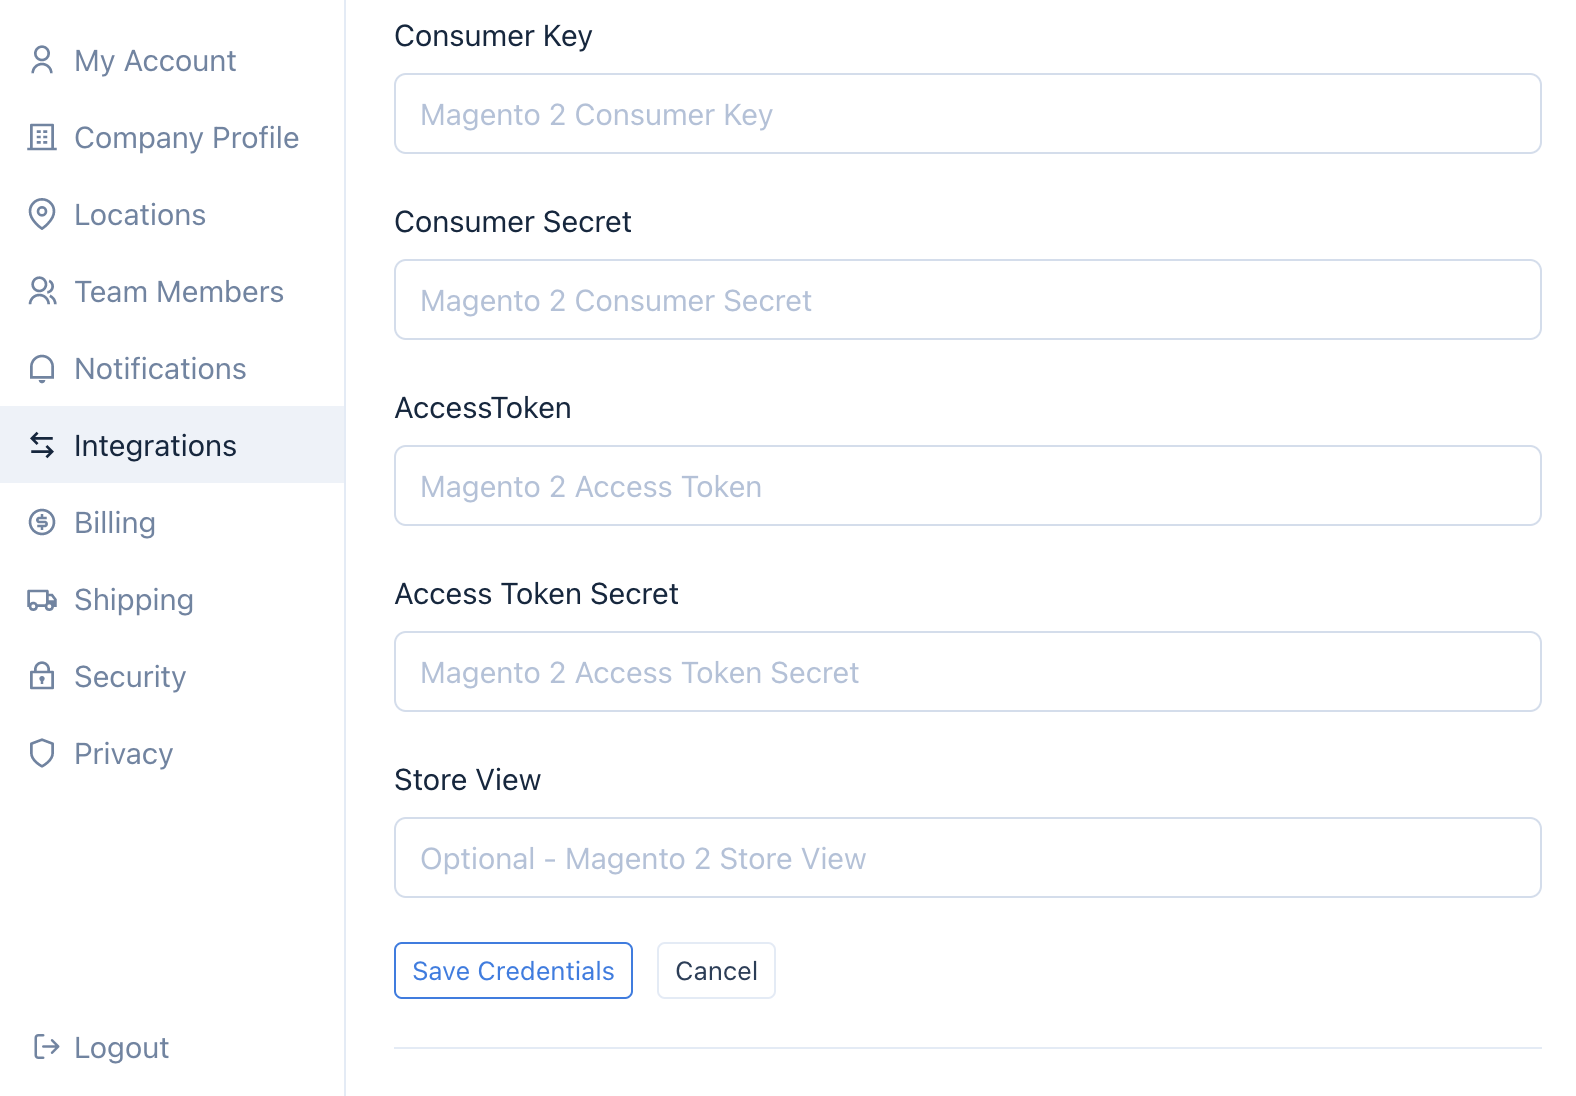
- This will generate the API keys. The API Keys look like this:
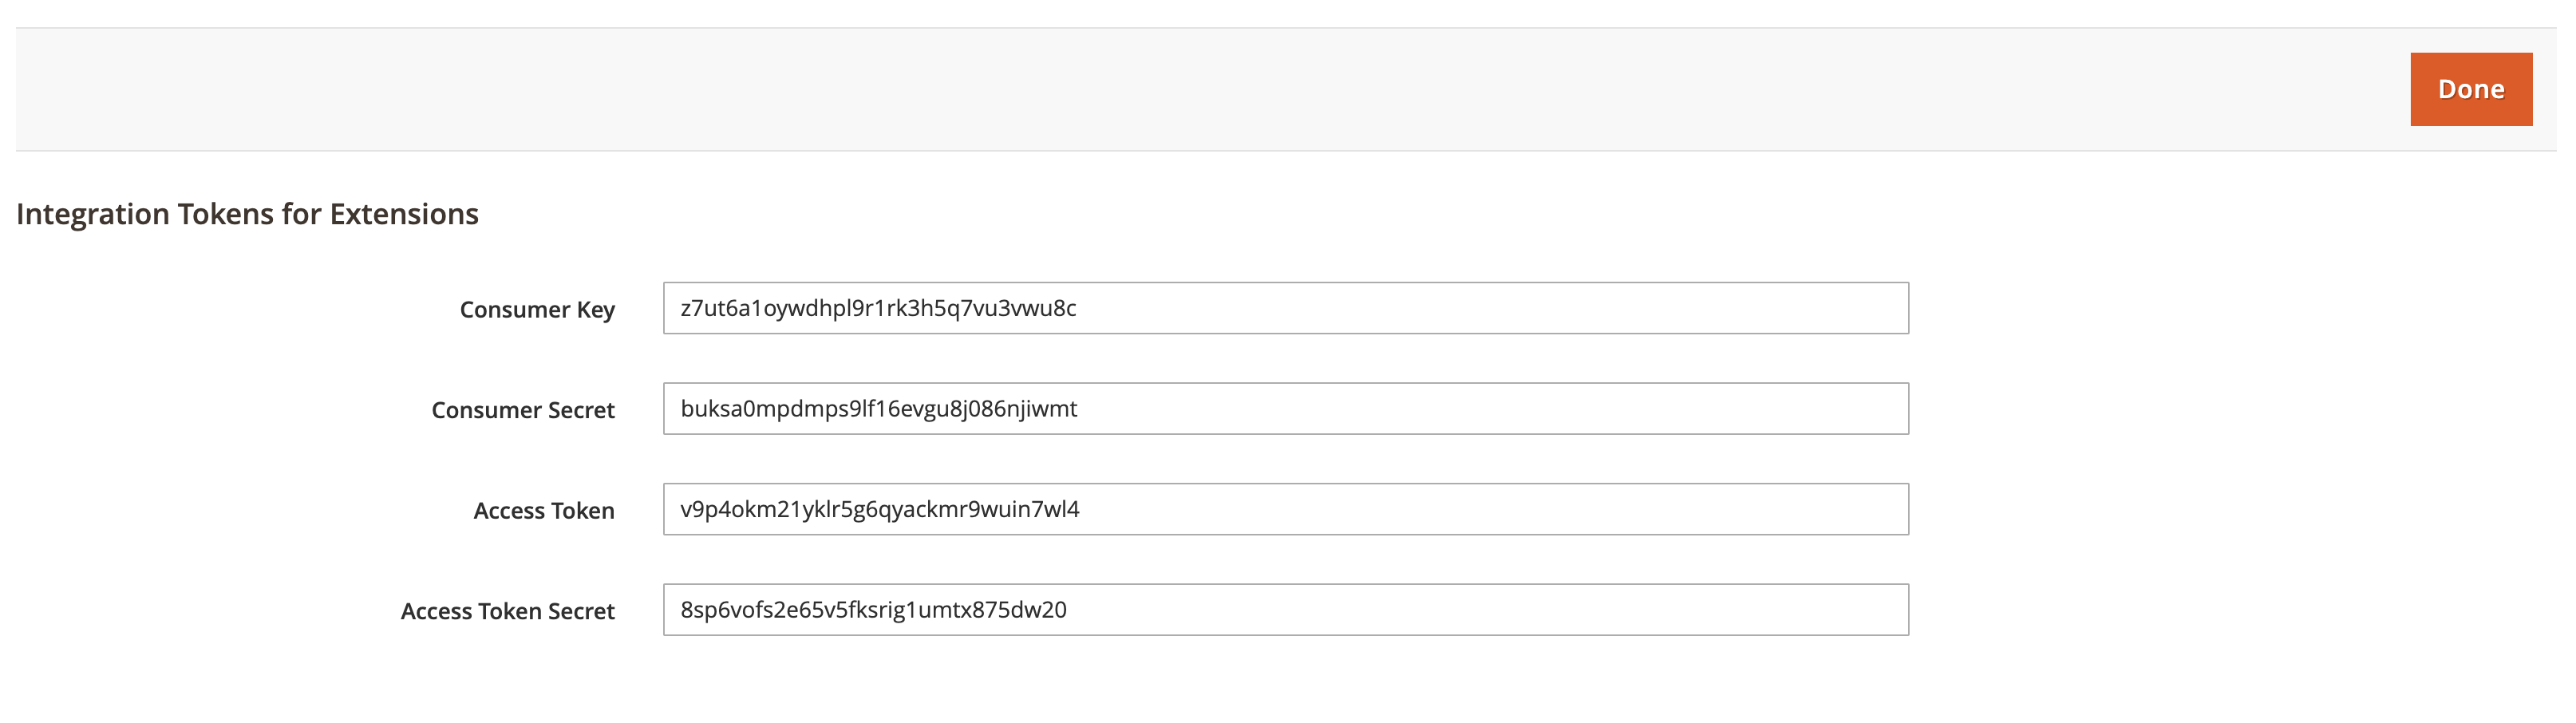
- Copy these keys into your Convictional Settings panel. Enter "code" for the store view if you created one:

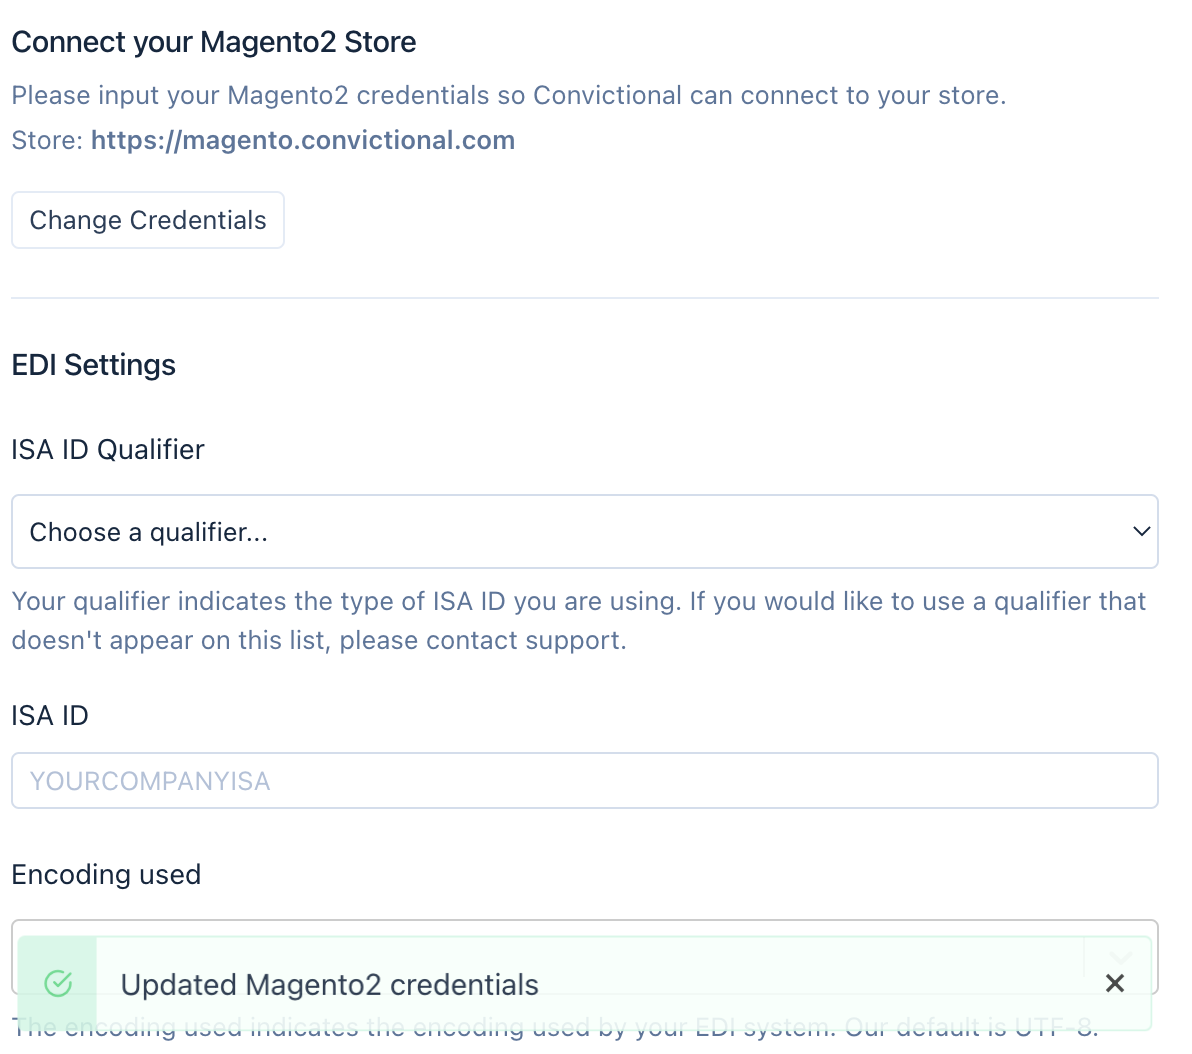
- Click "Save Credentials". Convictional will display that the credentials saved correctly:
Within 30 minutes, your products will be visible within the Products tab.
Step Four: Index Management
- Navigate to Admin > System > Tools > Index Management:
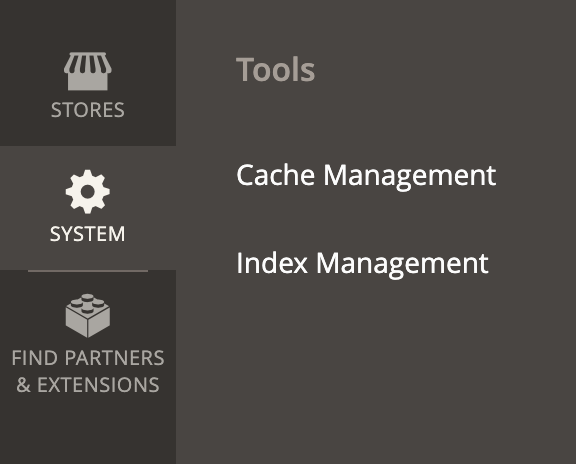
- Use the dropdown to "Select All" indices:
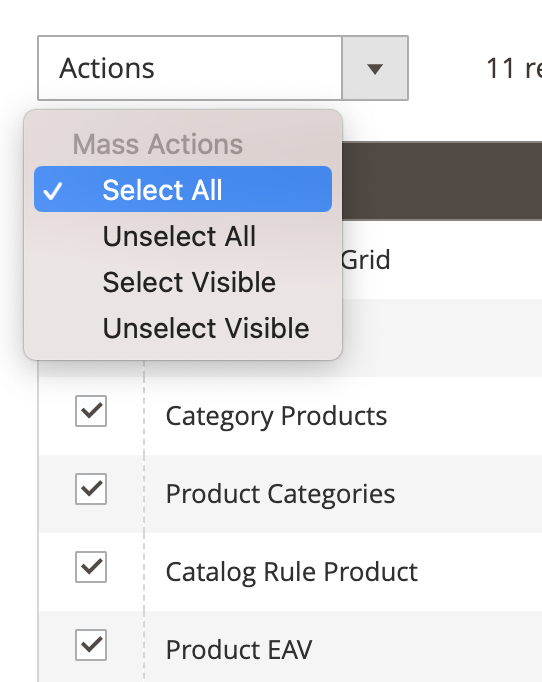
- Click on "Actions". Change the value to "Update by Schedule". Click "Submit":

Step Five: Flush Cache
- Navigate to System > Tools > Cache Management:
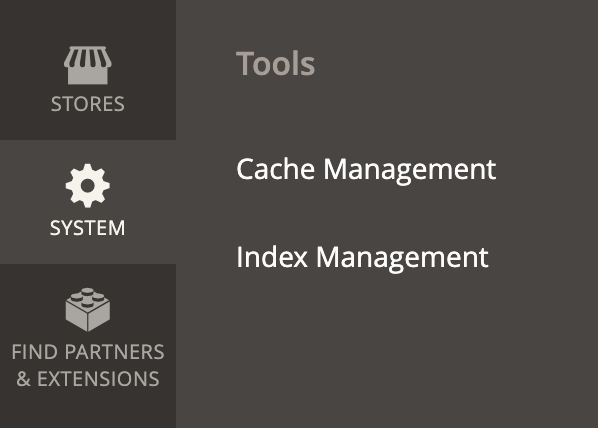
- Click "Flush Cache":

Next Steps
- Your Magento2 store is now connected. Convictional will sync products, inventory counts, and fulfillments.
- Go to the Partners tab to invite sellers to trade with you.
FAQ
Whitelisting Convictional IP Address
Convictional requests originate from
34.27.67.179